One of the most effective ways to make your home lighter, brighter, and happier is to clean its windows — inside and out.
And it is an essential task when you are getting ready to put your home on the market. You want to let the sun shine in! For those windows to gleam and sparkle with joy! Your potential buyers will notice if this is not what they experience when wandering from room to room.
Cleaning windows, however — especially both sides of the panes — requires time and energy. Sure, you can hire a professional window cleaner, but at a cost ranging from about $3 to $7 per window pane (plus extra charges for a variety of additional services), you’re looking to shell out at least a couple of hundred dollars. (Angie’s List estimates an average of $206 for window cleaning in the Dallas area.)
So will you DIY? If that’s what you choose, here’s what we’ve learned from the pros!
How to Clean Windows Like a Pro in 3 Easy Steps
1. Buy or DIY Glass Cleaner
While most pros buy a premade cleaner, you have choices: You can buy it or make it yourself. DIY-ing glass cleaner lets you decide what’s in it and costs far less than buying it premade. Here are two “recipes” for homemade glass cleaner from one of our favorite tipsters, One Good Thing by Jillee.
Homemade Glass Cleaner
- Water
- 1/2 cup ammonia
- 16 oz. rubbing alcohol
- 1 tsp. dish soap (for example, Dawn)
Fill a clean, empty gallon jug with water until about half full. Add the remaining ingredients in the order listed (ending with the Dawn, so it doesn’t create lots of suds when you add the other ingredients). Top the jug off with more water. Gently shake to combine the ingredients.
All-Natural Glass Cleaner
- White vinegar
- Water
Simply mix water and vinegar in equal amounts.
2. Collect Your Tools
Recommendations for window cleaning tools abound, but the pros rely on a few key supplies:
- Tools to sweep off excess debris and dust from your windows and window treatments before cleaning, for example, a small whisk broom or brush, dry rags, dusters, and/or a vacuum cleaner
- A window cleaning sponge to wash the windows
- A squeegee to remove most of the cleaner post-wash
- A large bucket filled with your cleaner of choice from Step 1
- A large empty bucket to hold the sponge and squeegee when not in use (see note below)
- A collection of rags, preferably microfiber (because they are relatively lint-free) to wipe the squeegee, clean up drips, and do final touchups
Now, technically, you don’t need to invest in a purpose-built window cleaning sponge or squeegee. You can use a natural sponge or microfiber cloths for the washing and microfiber cloths for the drying. But once you’ve mastered the pros’ techniques using their tools of choice, your windows will look amazing in a fraction of the time it will likely take you using less effective tools. They are also relatively inexpensive and can be used to clean mirrors and other glass surfaces as well.
Note: Many pros invest in a special belt and holster to store the sponge and squeegee handy between shifts, but $40 seems pricey when a simple, inexpensive bucket can serve the same purpose. Your choice!
3. Let the Sun Shine In!
Here is the basic process for maximizing your windows’ fabulousness:
- Clean on a dry, cloudy day, so the cleaner doesn’t evaporate before you have time to wield that squeegee.
- Dust blinds, sills, and sashes. If you have other types of window treatments, clean them as well following the manufacturer’s or maker’s instructions. This keeps your windows as clean as possible for as long as possible.
- Remove the exterior screens if they don’t slide to give you access to all the panes you need to clean. (If they are dirty, you will want to clean them as well.
- Dip your sponge in the cleaning solution, and gently squeeze out most of the excess water. You want enough solution to wash the pane without lots of dripping. For exterior windows, you can be more liberal with the cleaning solution since dripping doesn’t matter as much and those windows are likely to be much dirtier than their interior counterparts (unless you have a giant, slobbery dog who deposits kisses and noseprints on all your glass surfaces like we do!).
- Gently wash the pane, getting into all of its corners and edges. Start at a top corner, and use a sweeping horizontal motion to scrub your way down to the bottom of the pane.
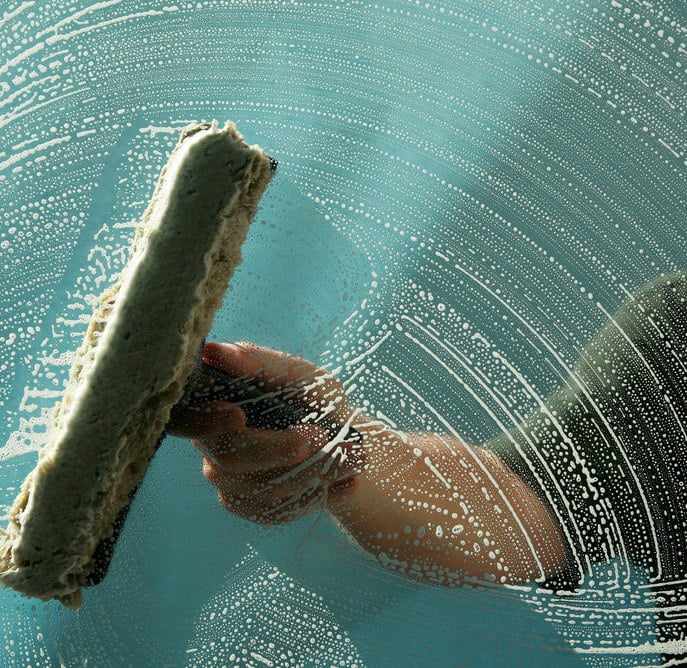
- Put your sponge in the empty bucket and grab that squeegee! Wipe the squeegee dry and place it in a top corner firmly against the left or right edge of the pane. Sweep it horizontally from one edge to the other. Pull it away from the pane. Wipe it off. Move down a little (overlapping slightly with your first pass). And repeat until you get to the bottom of the window pane.
- Finally, use a cloth to wipe around the edges and touch up any spots that need it.
Et voilà! Beautifully-sparkling, brilliantly-clean windows.
Image Credit: Aqua Mechanical via Flickr

